How to Resize Your Photos
Your photo needs to be under 500KB
Photos uploaded during the online Membership purchase must be under 500KB.
1. Make a smaller copy
Use one of the options below to resize your photo.
2. Keep it under 500KB
Files larger than 500KB will not upload at checkout.
3. Upload the new copy
Your original photo will stay on your device.
How to resize on mobile
1. Using a Photo Resizing App
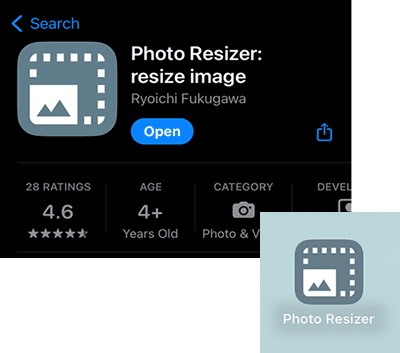
- One option is the Photo Resizer: Resize Image app by Ryoichi Fukugawa.
- Download and open the app.
- Allow the app to access your photos when prompted.
2.Resize Image
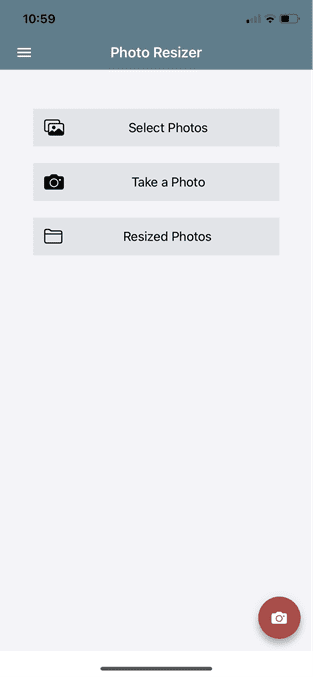
Click on “Select Photos” (ensure you have granted the app access to camera roll)
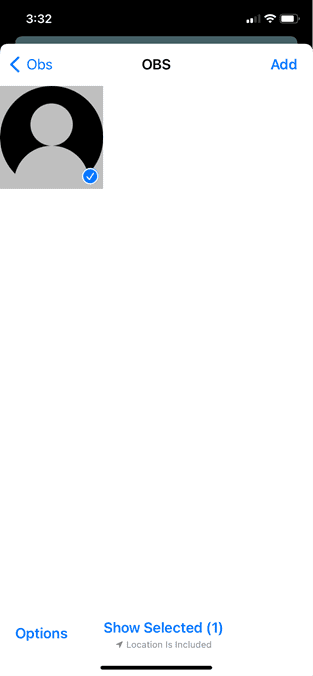
Select the image you would like to re-size first then press “add”.
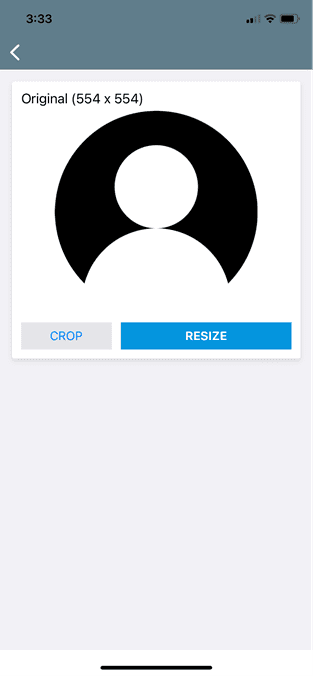
Then select “RESIZE”
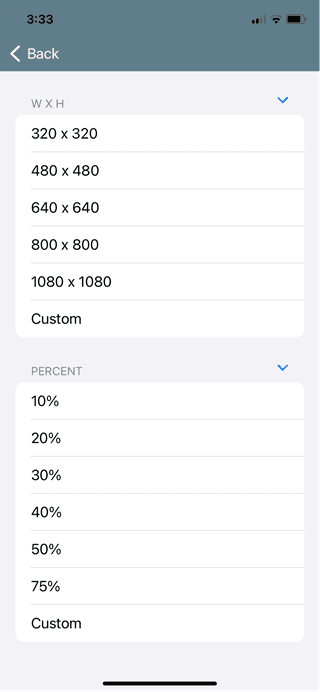
Select the new size you would like the image (please note the custom size option buttons you can use)
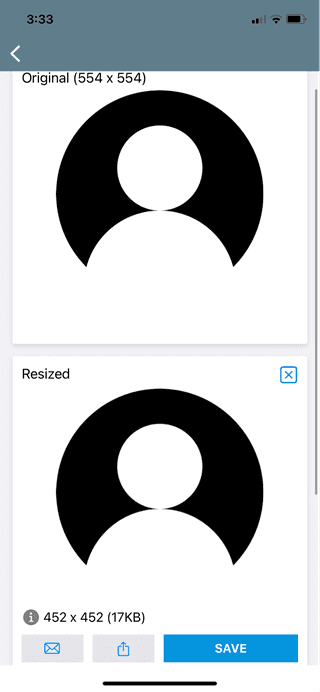
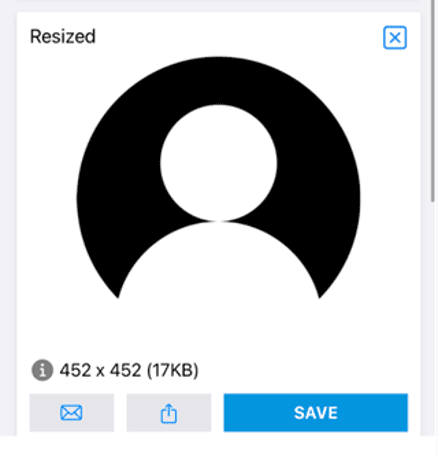
Once new size is selected, the above screen will appear. Look to the bottom left to see the size in KB. Continue reducing the image until it is under 500KB.
3. Save Image
- Once you are happy with your image size, click the “SAVE” button to save the image to your camera roll.
- Your new image will now appear in your camera roll when selecting your desired photo for your Season Pass.
- Each individual Season Pass requires photo identification. If you are purchasing multiple passes and therefore, need to resize multiple photos, keep repeating the previous steps until all images are the correct size.
How to resize on desktop
Resize a Photo on Windows
- Right-click on the image you would like to use and select Open with followed by Photos.
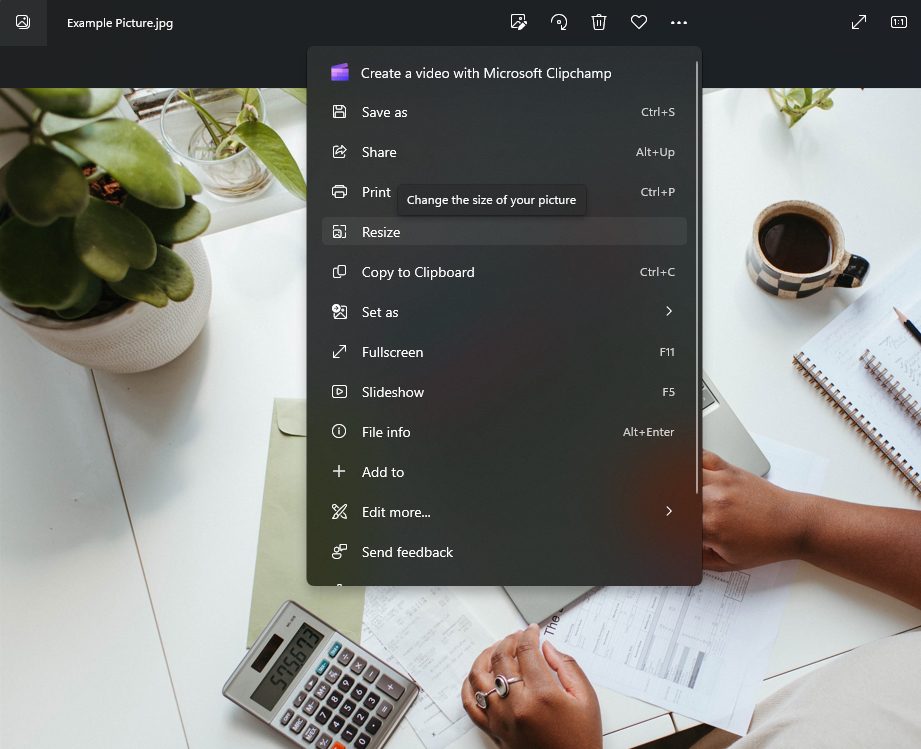
- The Photos app will open on your desktop. Once open, locate the three dots icon in the top right corner and click on the icon.
- The icon will reveal a drop-down menu on your screen. Locate the Resize button in the drop-down menu and select this feature.
- A pop-up window appears. Select one of the three preset sizes (shown on the left). Otherwise, choose Define custom dimensions for a specific size. Another pop-up window appears (shown on the right).
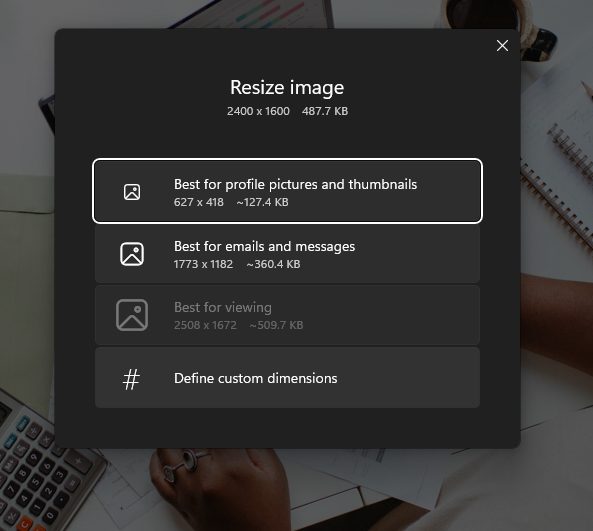
- To keep the aspect ratio, select the box next to Maintain aspect ratio. As you enter a number into one of the boxes, the other box will automatically adjust its number in proportion to the number you just entered. If the aspect ratio doesn’t matter, don’t check the box, and enter the numbers in both boxes.
- Check the estimated file size, if under 500KB, select the Save Resized Copy button.
- Repeat steps 1-6 as required, depending on how many images you need to resize.
Resize a Photo on a Mac
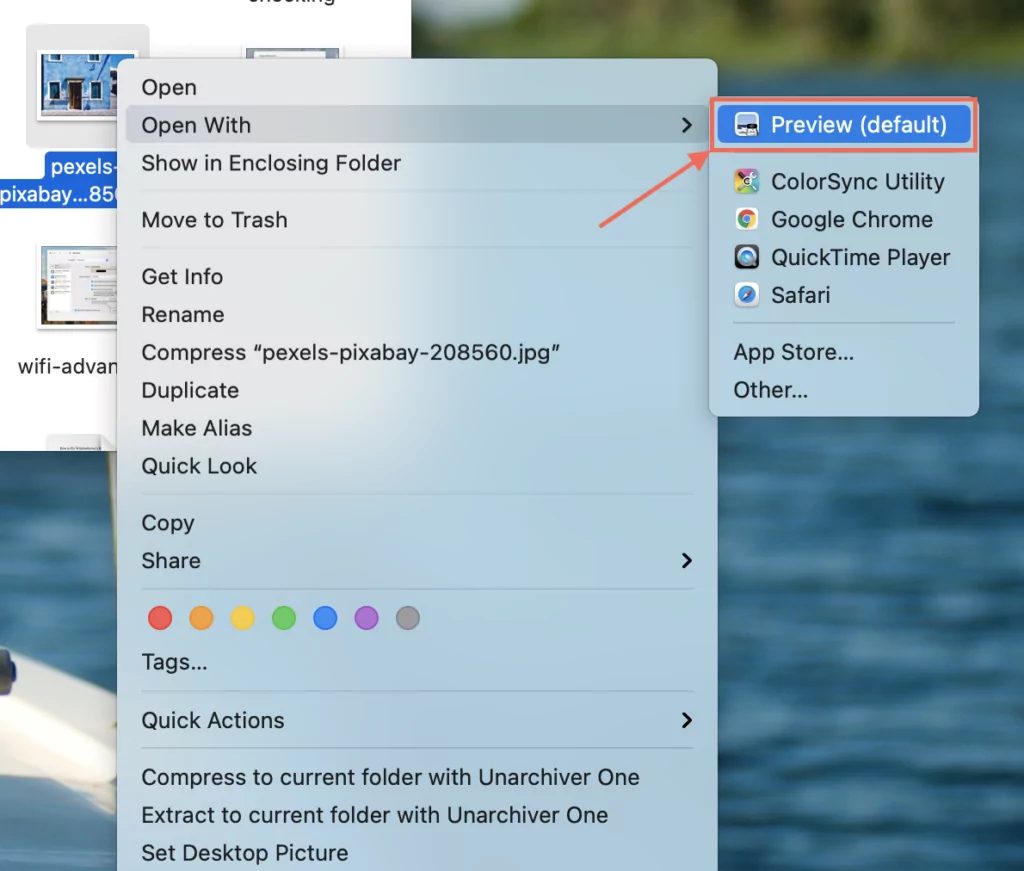
- Right-click on the image you would like to use and select Open. If Preview is not your default image viewer, select Open with followed by Preview instead.
- Select Tools on the menu bar
- A drop-down menu will appear. From the menu, select Adjust Size.
- Enter the width and height information. You may need to switch the size type, like changing from inches to pixels, as shown below. Alternatively, you can select a preset size by selecting the arrows next to Fit into.
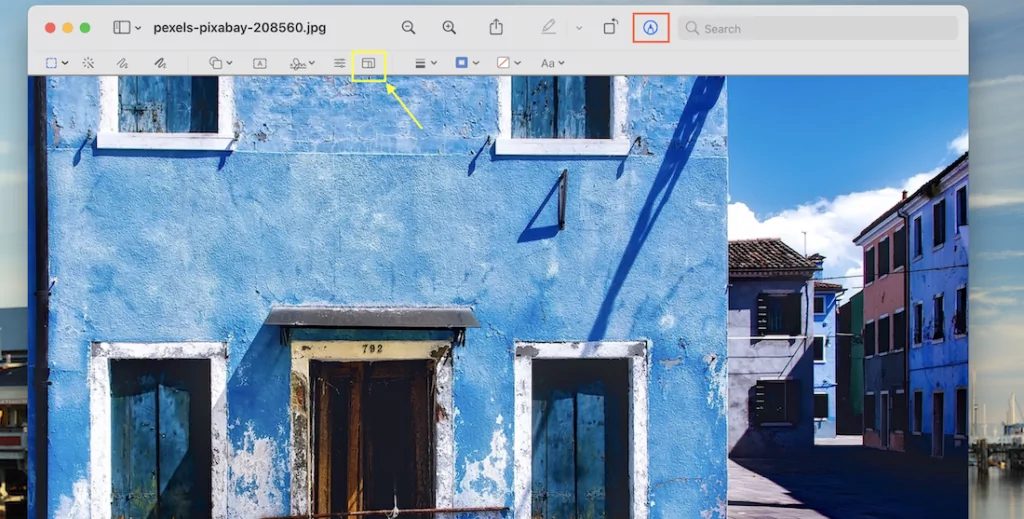
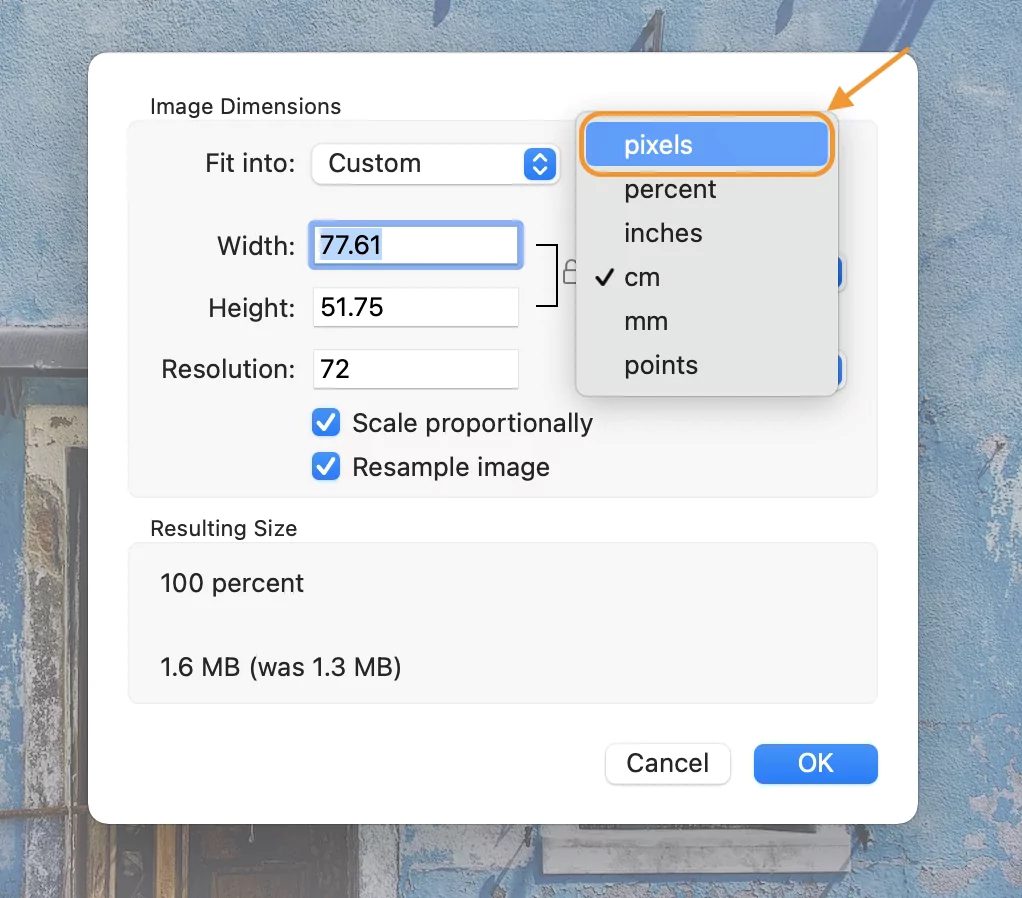
- Continue reducing the dimensions if the image is still larger than 500KB.
- Select the blue OK button to confirm the new size, save the resized image by selecting File on the menu bar and then select Save.
- Repeat steps 1-6 as required, depending on how many images you need to resize.
Still Having Trouble?
You can complete your Membership purchase without uploading photos during checkout.
After purchasing, follow the WhatsApp or email instructions in your confirmation email to submit each Member’s photo.
Members cannot enter the park until their photo has been received and linked to their Season Pass.